


 Dashboard
 Log Out


Proxies
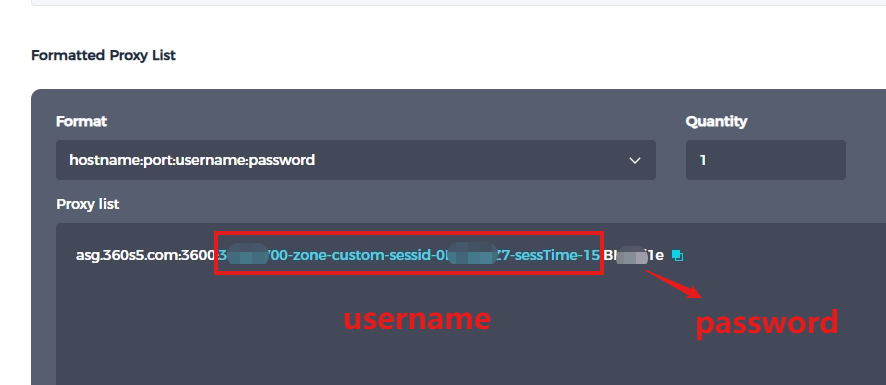
 Username: Password
 API Whitelist
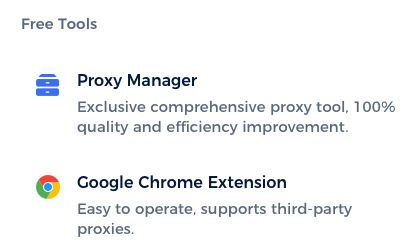
Proxy Manager
 Proxy Manager
Tools
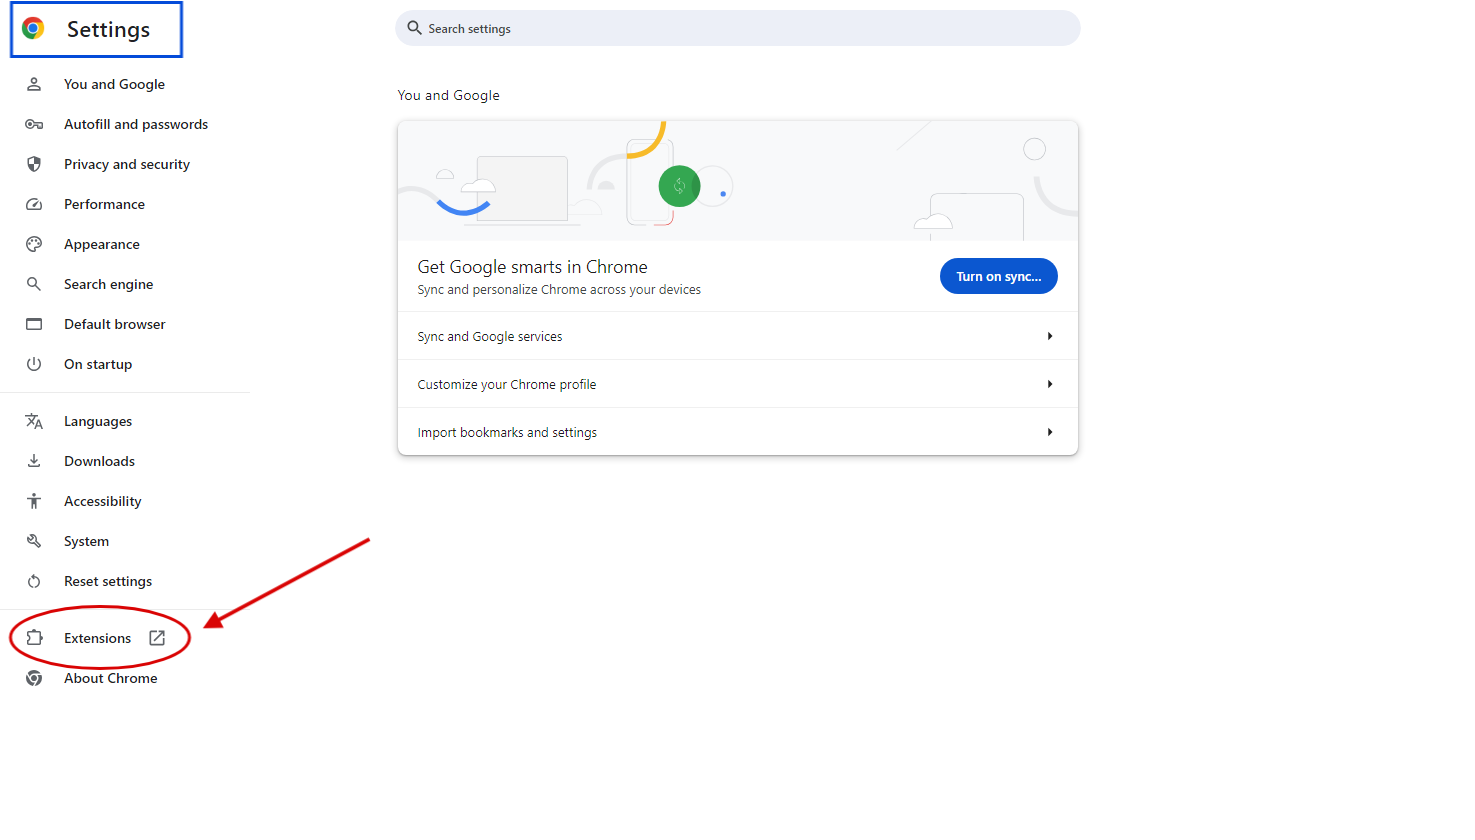
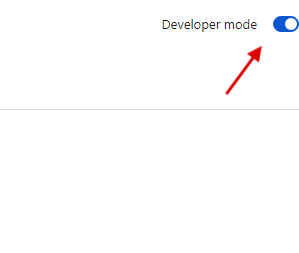
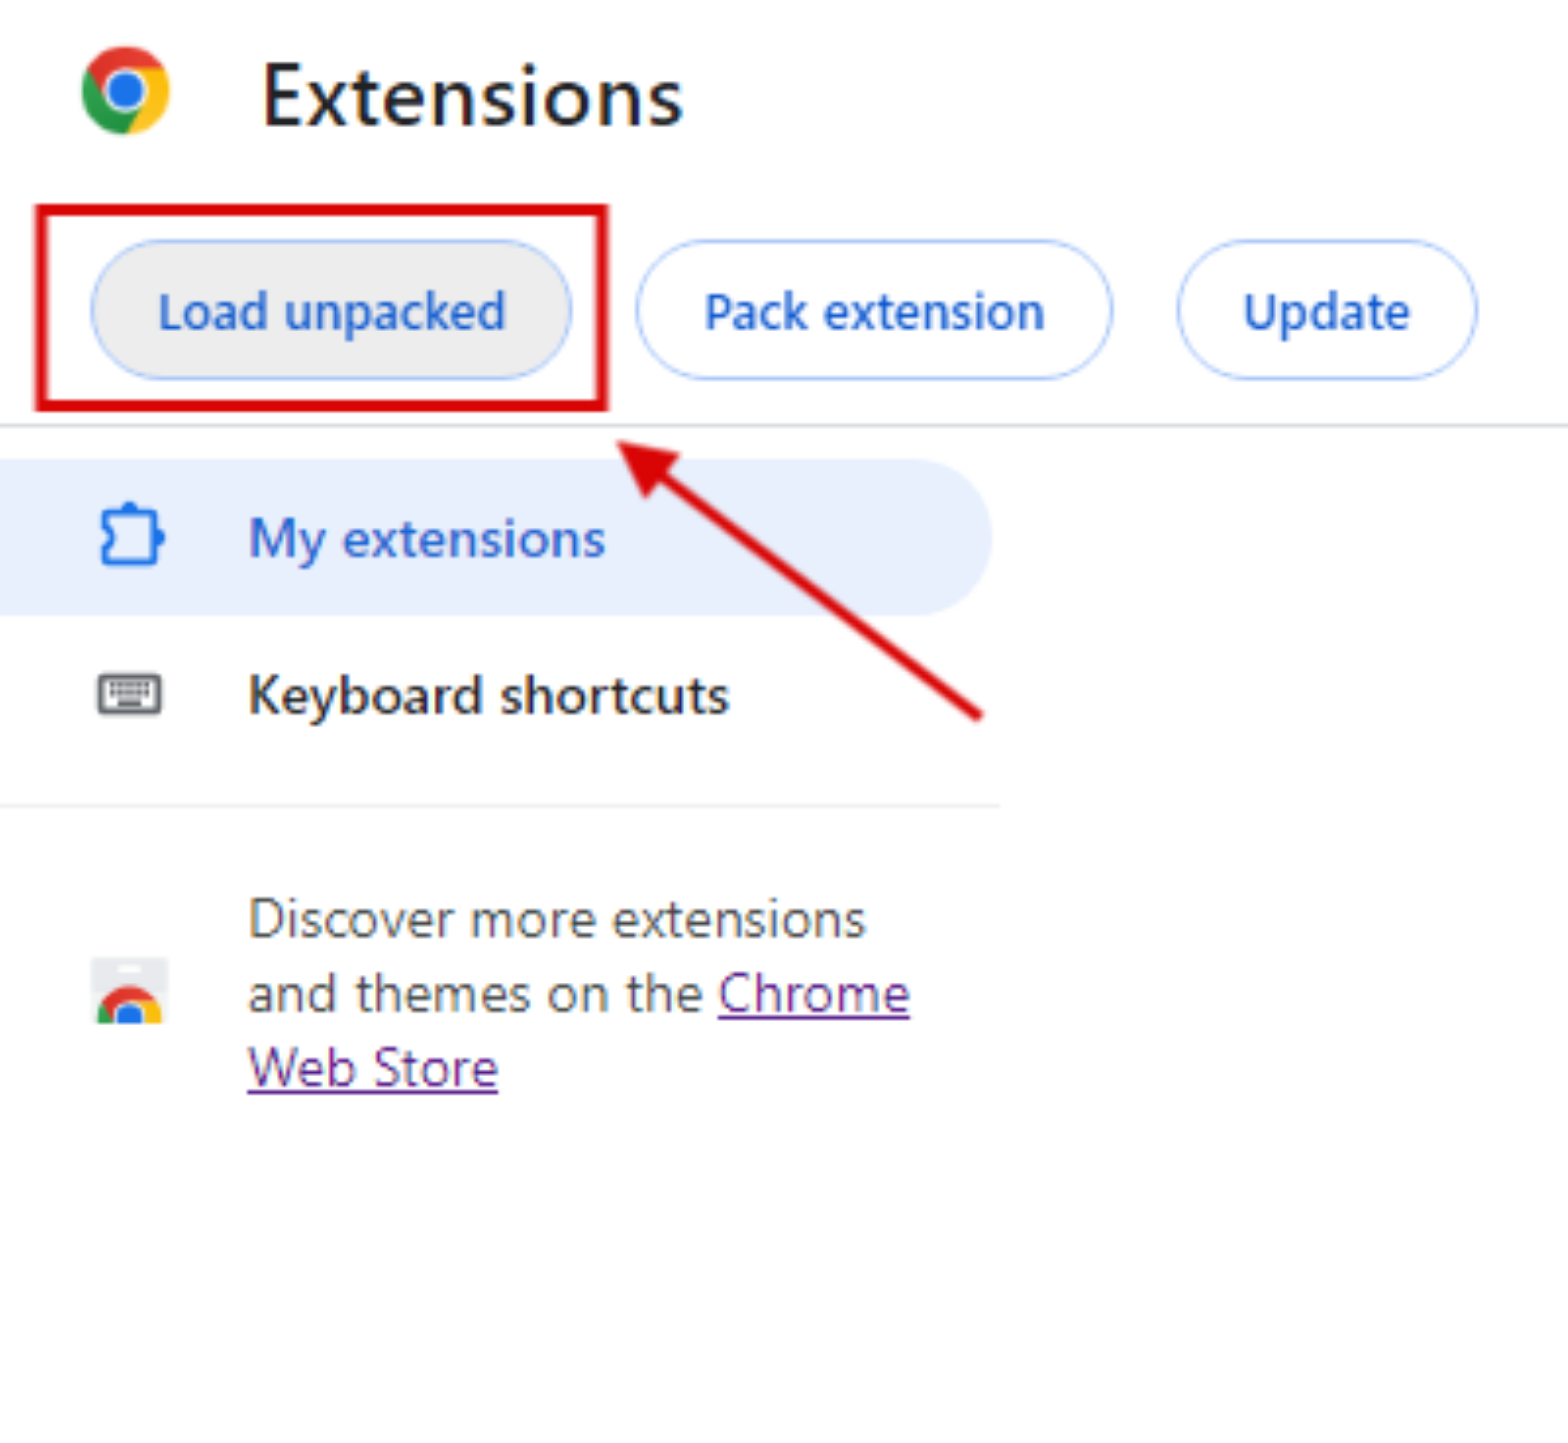
 Google Chrome Extension
 Mozilla Firefox Add-on


 United States
 France
 Brazil
 Vietnam
 Spain
Spain