User Guide

Getting Started with Cherry Proxy

Global Proxy

How to use the Residential Proxy API Function


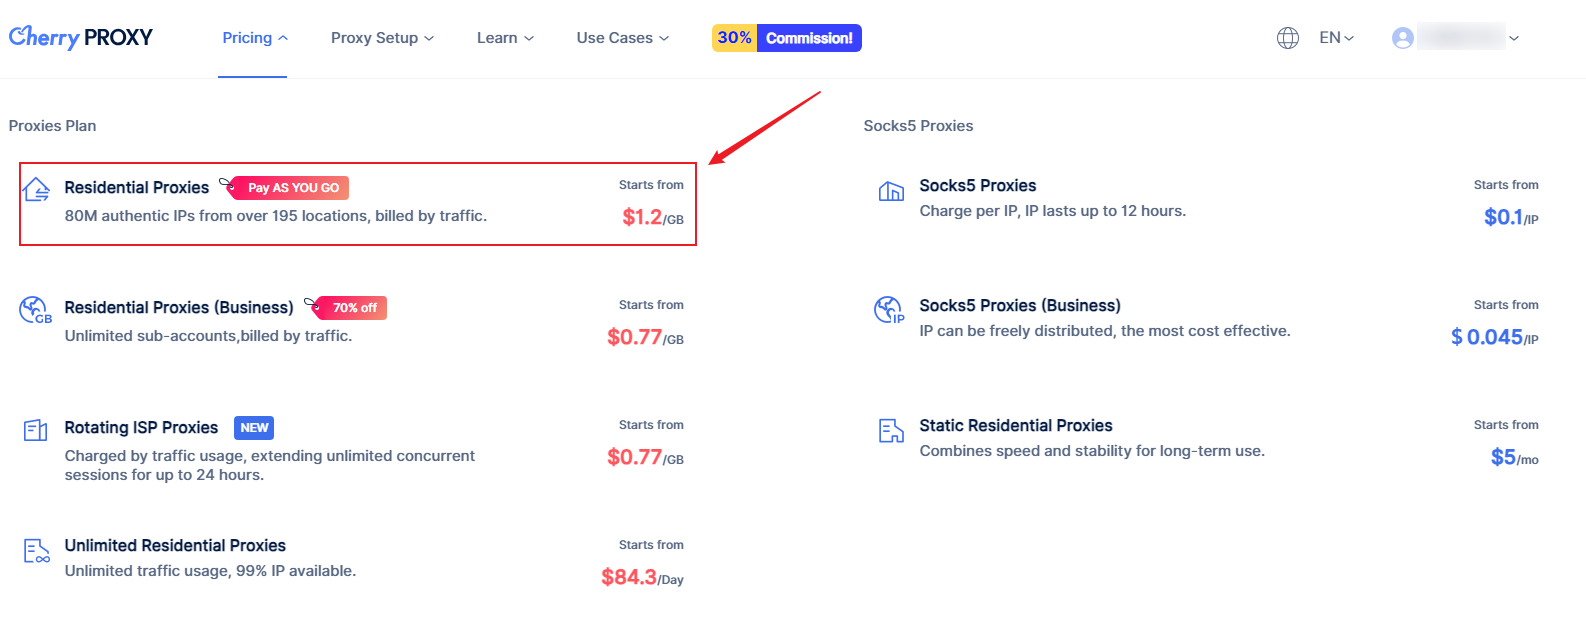
The residential proxy plan is charged based on traffic. The plan has the following characteristics:

●Optional time 30-180 days

●Unlimited bandwidth, unlimited number of IPs

●Support Socks5/HTTP(S)

●Sessions can last up to 120 minutes

●Support country/city level positioning


Residential proxy supports multiple usage methods: account authentication, IP whitelist, API function


This article will mainly introduce the residential proxy API function.


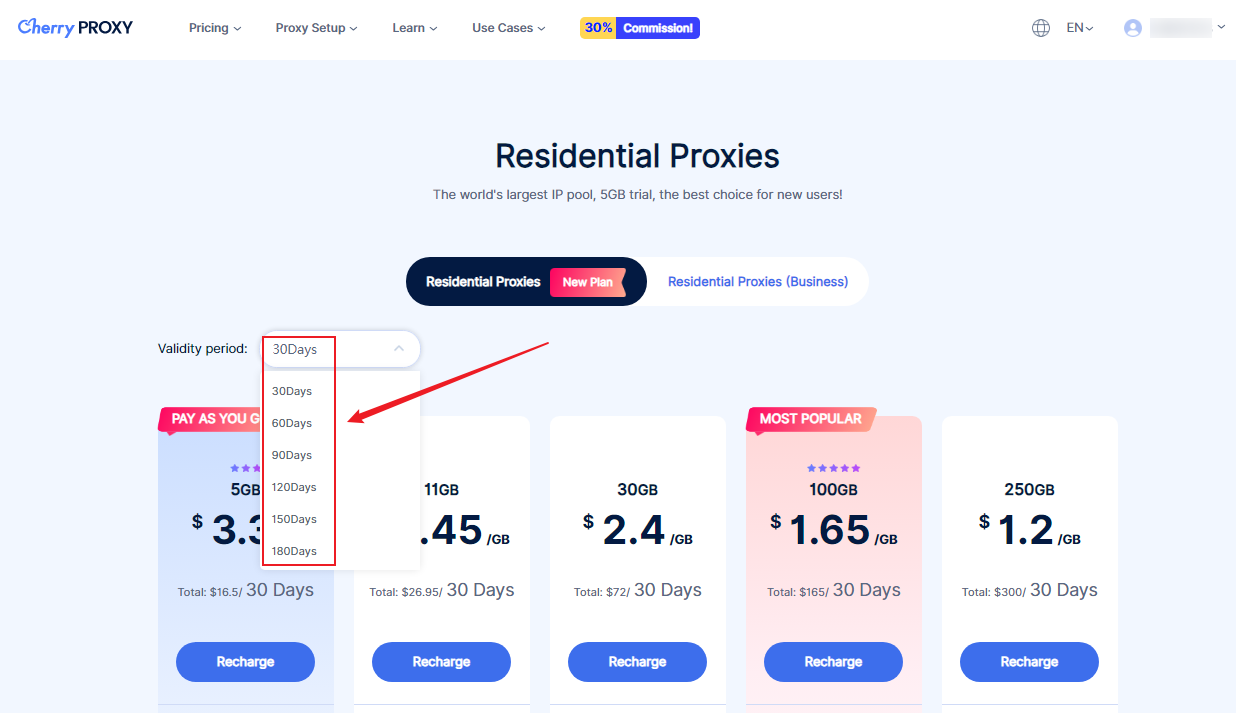
1: When purchasing a residential proxy, you can choose the number of days to purchase according to your needs.


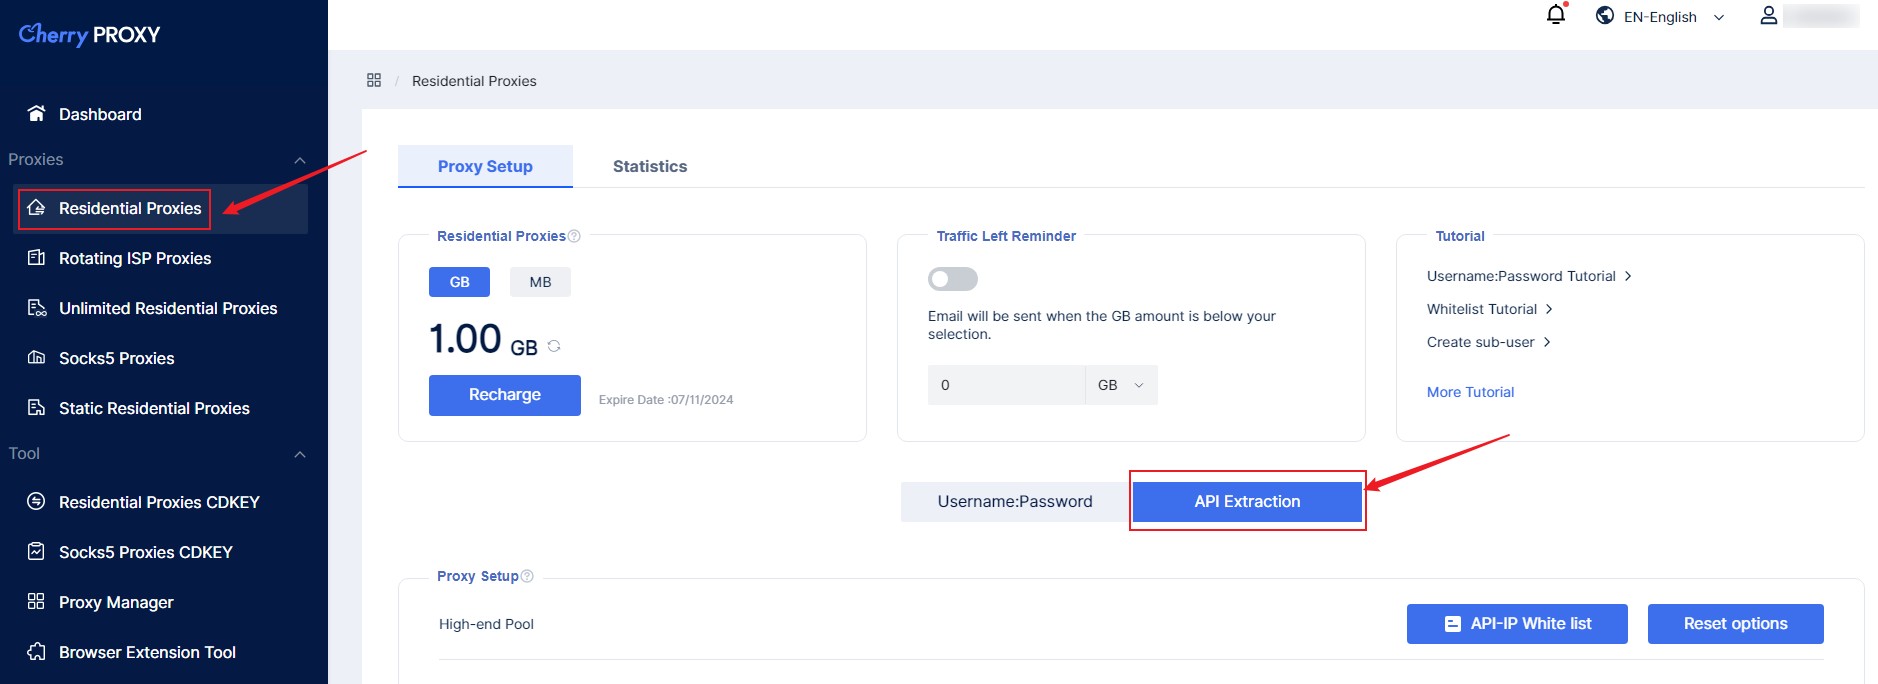
2: After the purchase is completed, click on the personal center page—Residential Proxies—API Extraction.


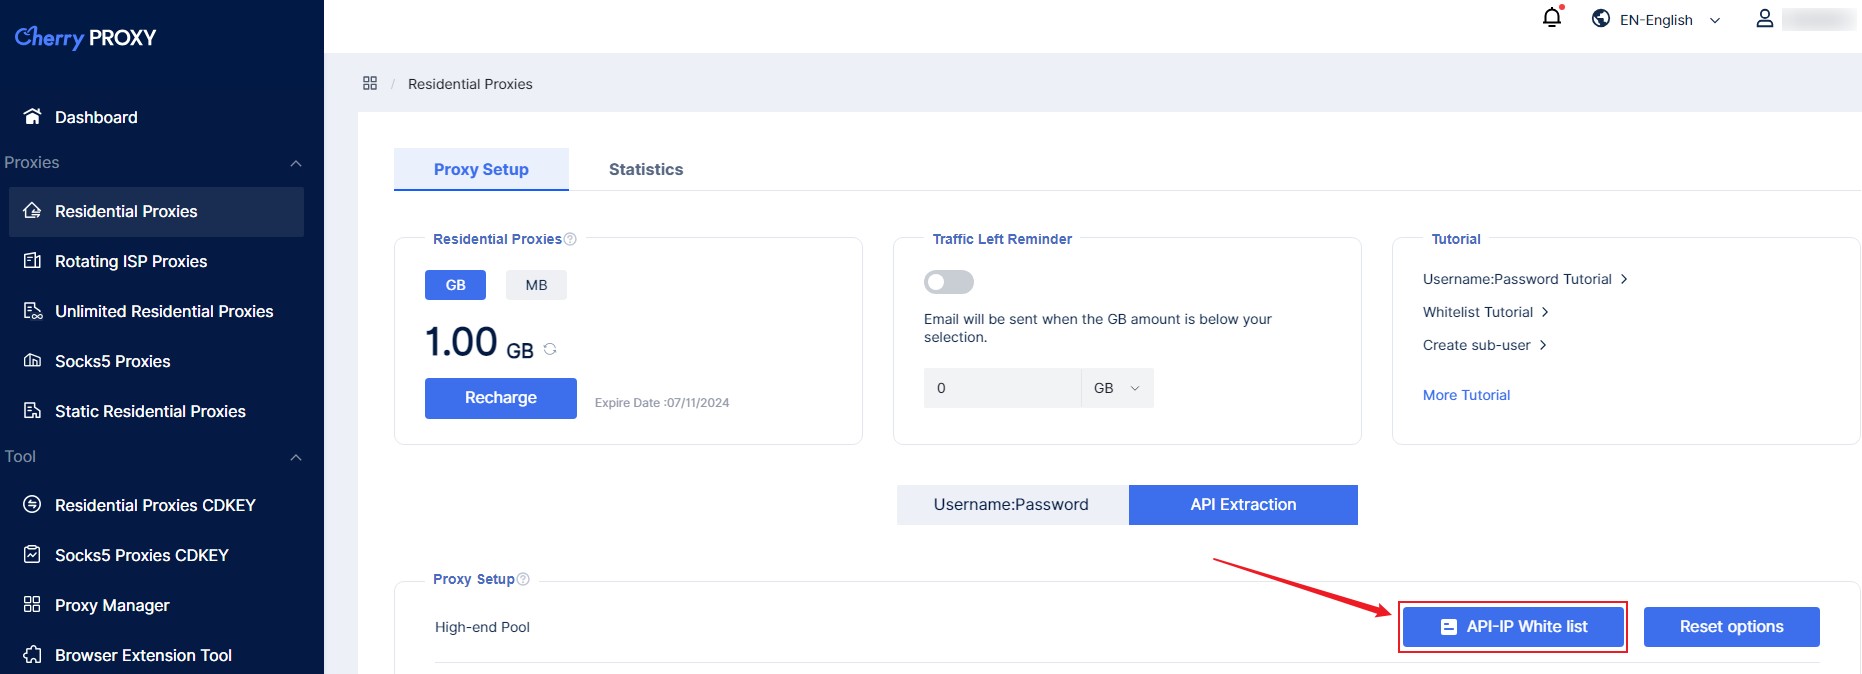
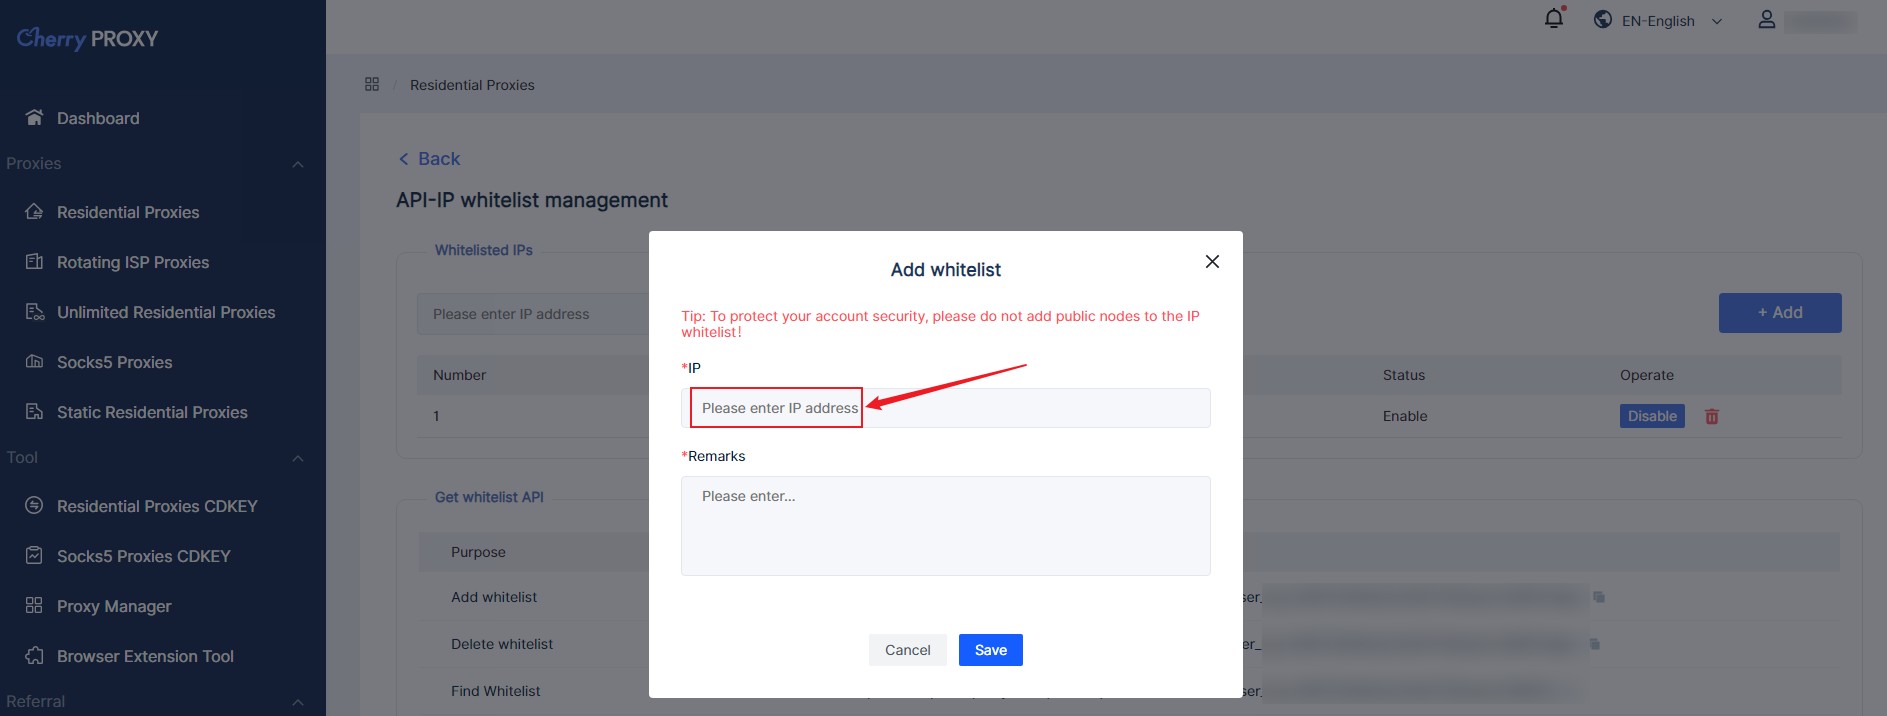
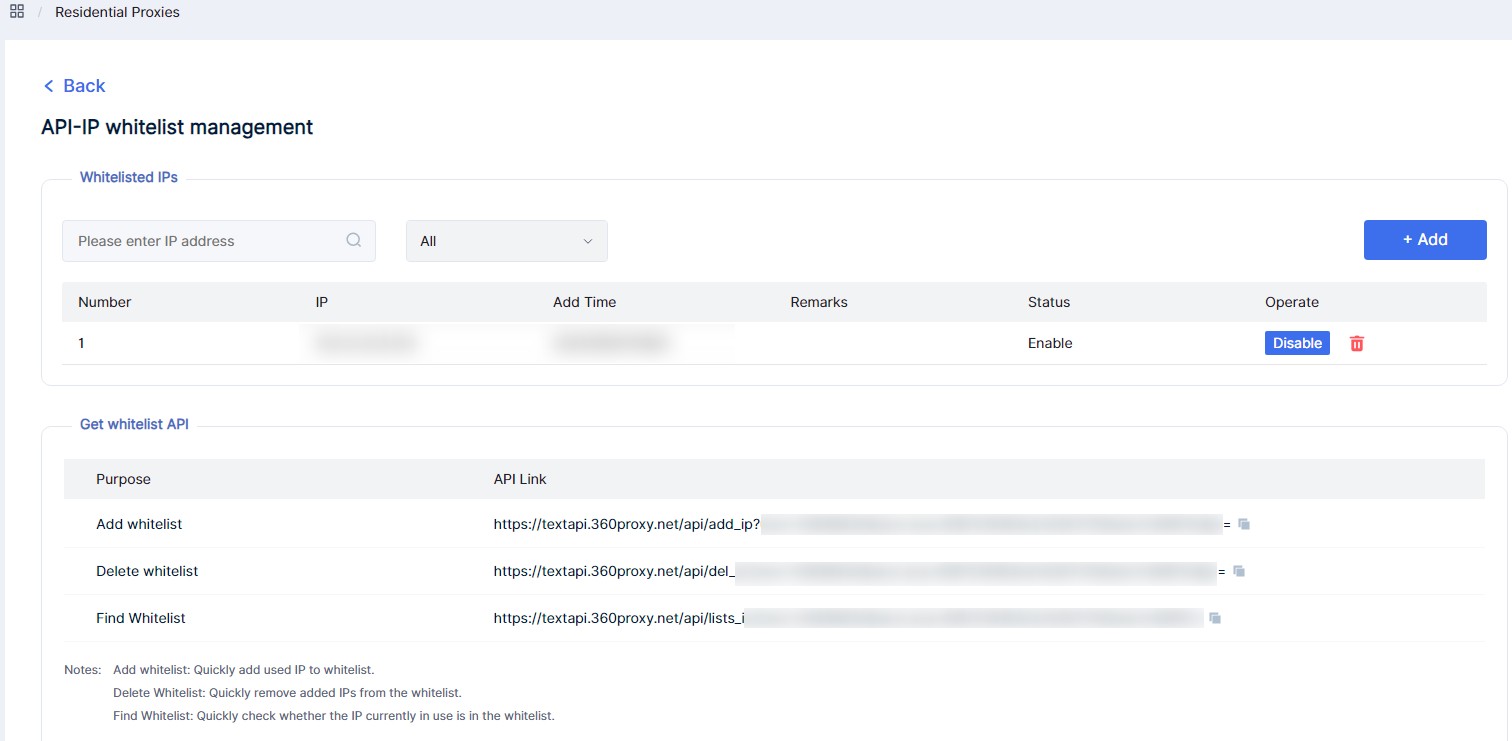
3: Add new API whitelist

Method 1: Manually add IP to the API proxy list. (The IP entered is your device IP, not the proxy IP)


Method 2: Use API links to add, delete, and search IPs.


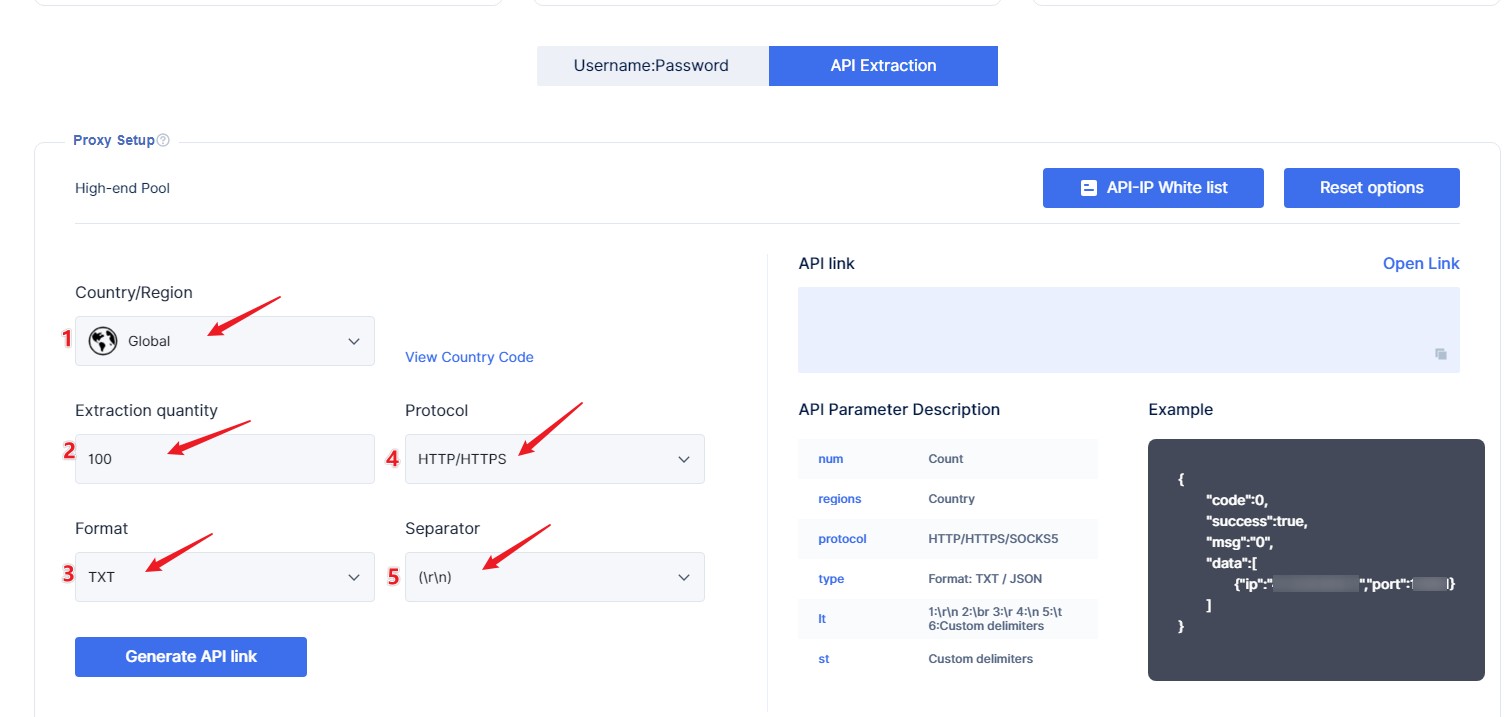
4: Filter countries, select quantity, generate format and other parameters as needed.

①Set the country and region to which the IP to be selected belongs;

②Select the number of IPs you need to use;

③Select the API command format you need. Currently, two command formats, txt and json, are supported;

④Select the proxy protocol format you need. Currently, HTTP, HTTPS, and SOCKS5 are supported;

⑤ Select the delimiter you need. Currently, several options are provided: \r\n, \br, \r, \n, \t. In addition, user-defined delimiter is also supported.


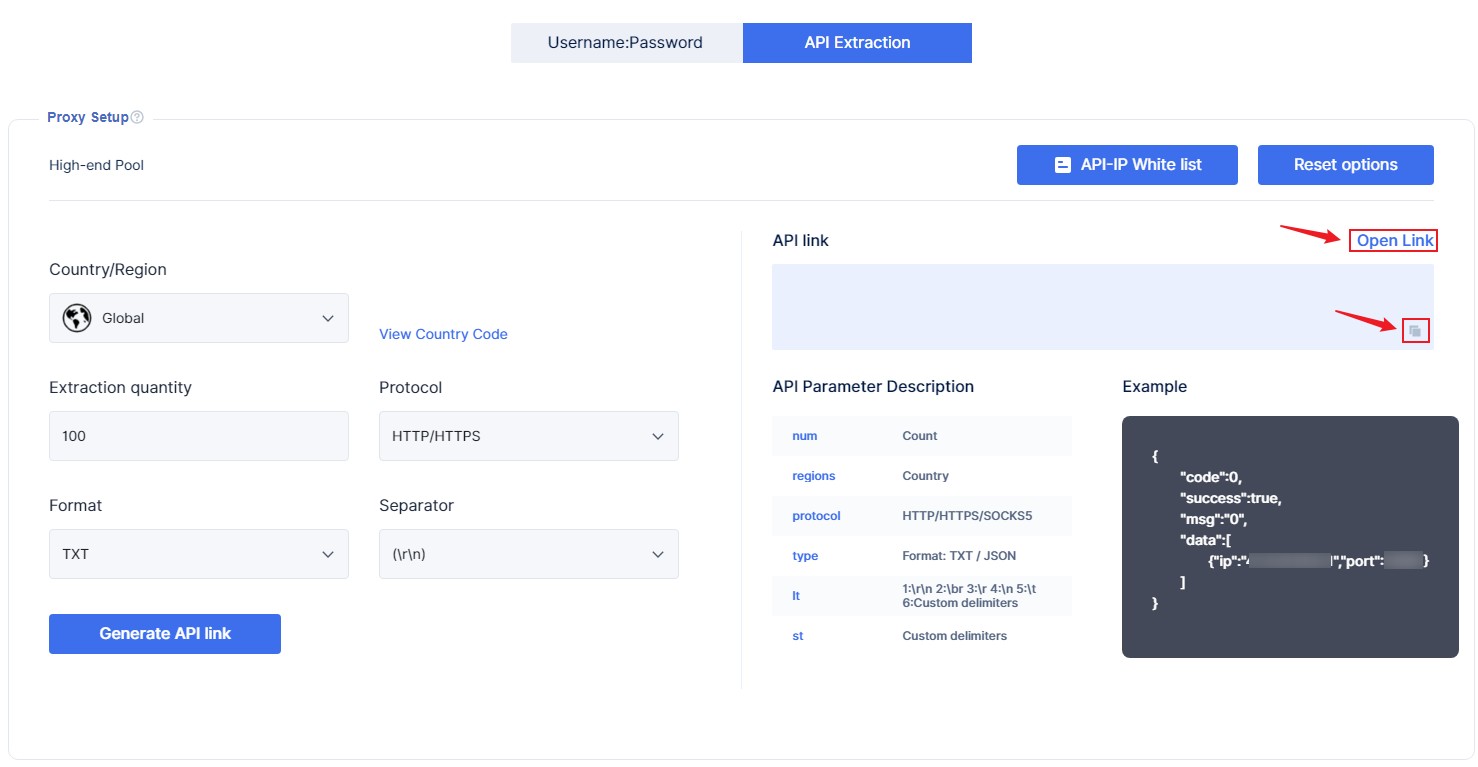
5. Open the generated link and obtain the generated proxy list.


After setting the parameters, click the Generate API link button to open the generated API link directly or copy it to the browser to open it.


6. Open the link you generated and copy the extracted proxy to a third-party tool for testing.


The above are the complete steps for using the residential proxy API function.

If you have any usage problems, please feel free to contact us: [email protected]