User Guide

Getting Started with Cherry Proxy

Global Proxy

How to use username:password?

This article will guide you through using the static residential proxies with username:password authentication, so let’s get started!


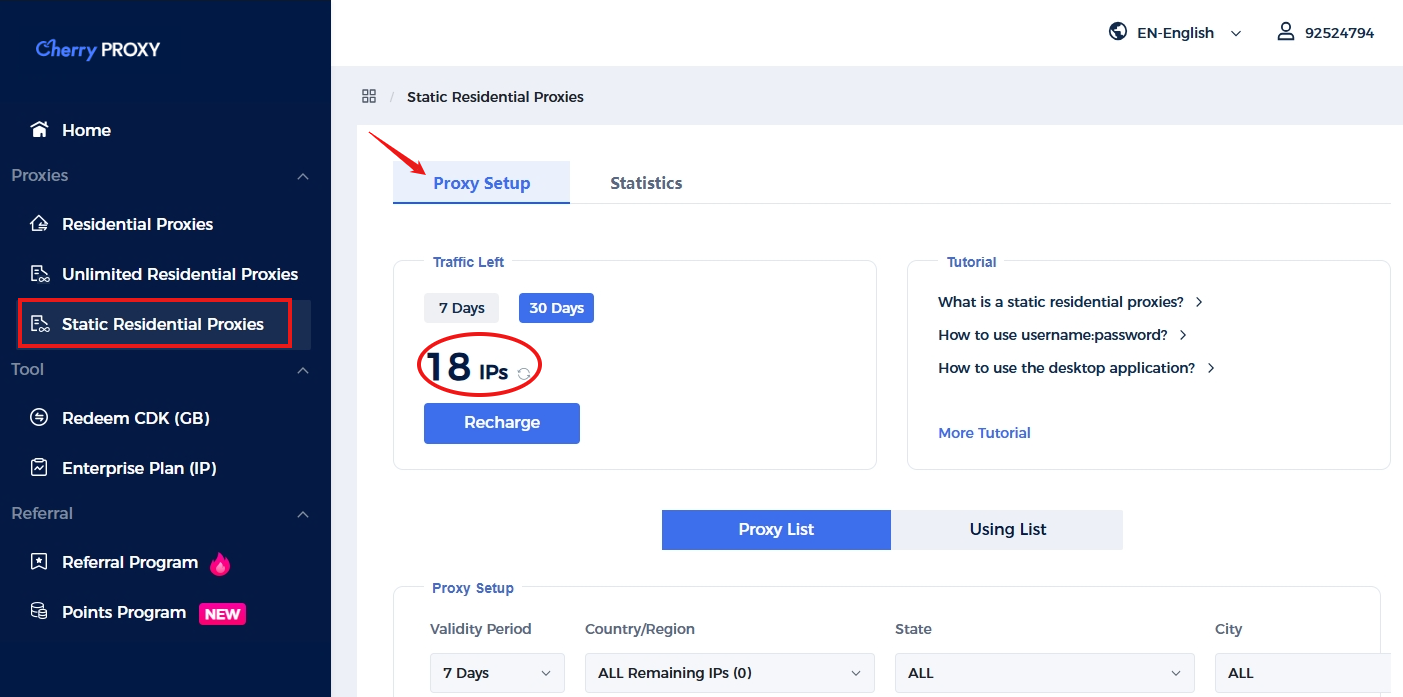
Step 1 Click to enter the static residential proxy setup page


Here we can see two sections: proxy setup and statistics. In the proxy setup, you can see the balance of the current account and tutorials. In the statistics, you can see the statistics of the usage records. We will perform the following steps on the proxy setup page.


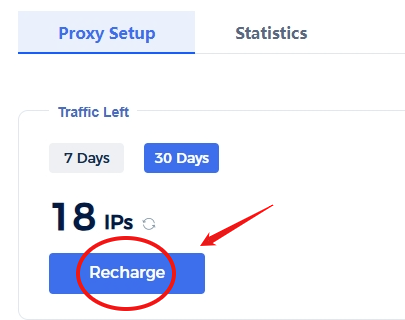
Click here to purchase:


300


Step 2 Select IP location


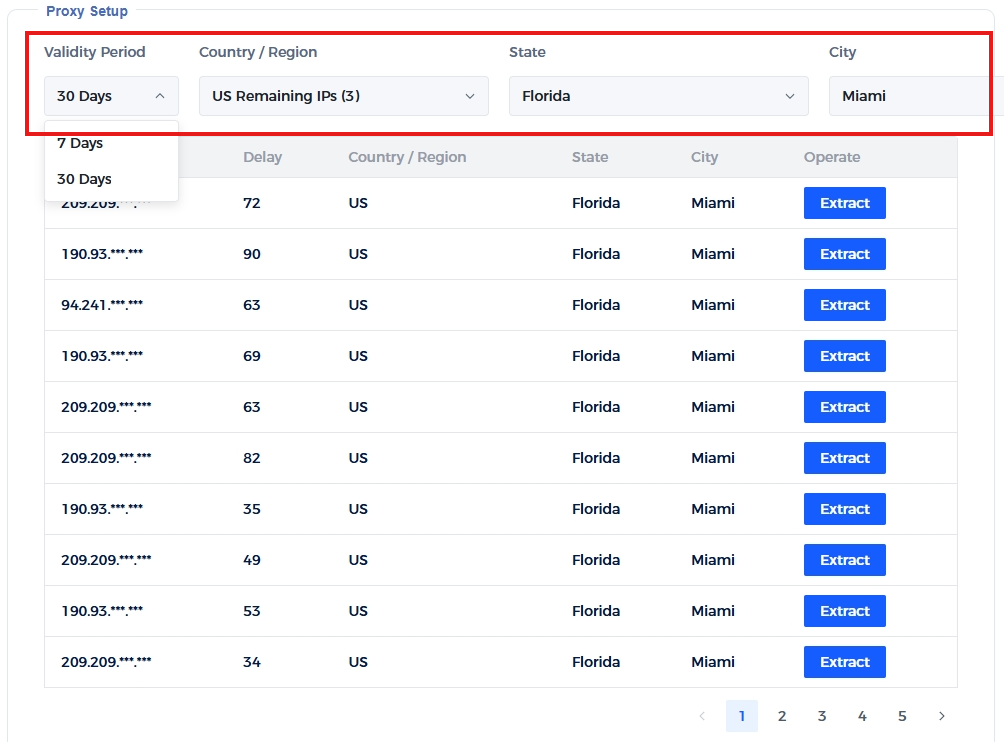
Select the 7-day or 30-day static proxy duration you purchased in the proxy list, and then select the country/region, state, or city.


780


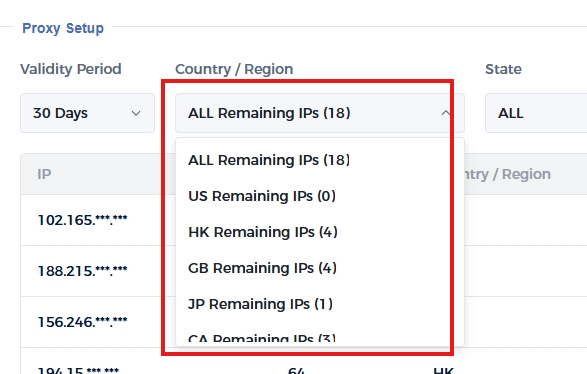
Tip: When you select a country, you can see your balance for each country you purchased.


780


Step 3 Extraction and use


After completing the above steps, click Extract.


780


If "success" appears, it means that the IP extraction is successful.


780


Then click Using List, where you can manage your extracted IPs.


780

780


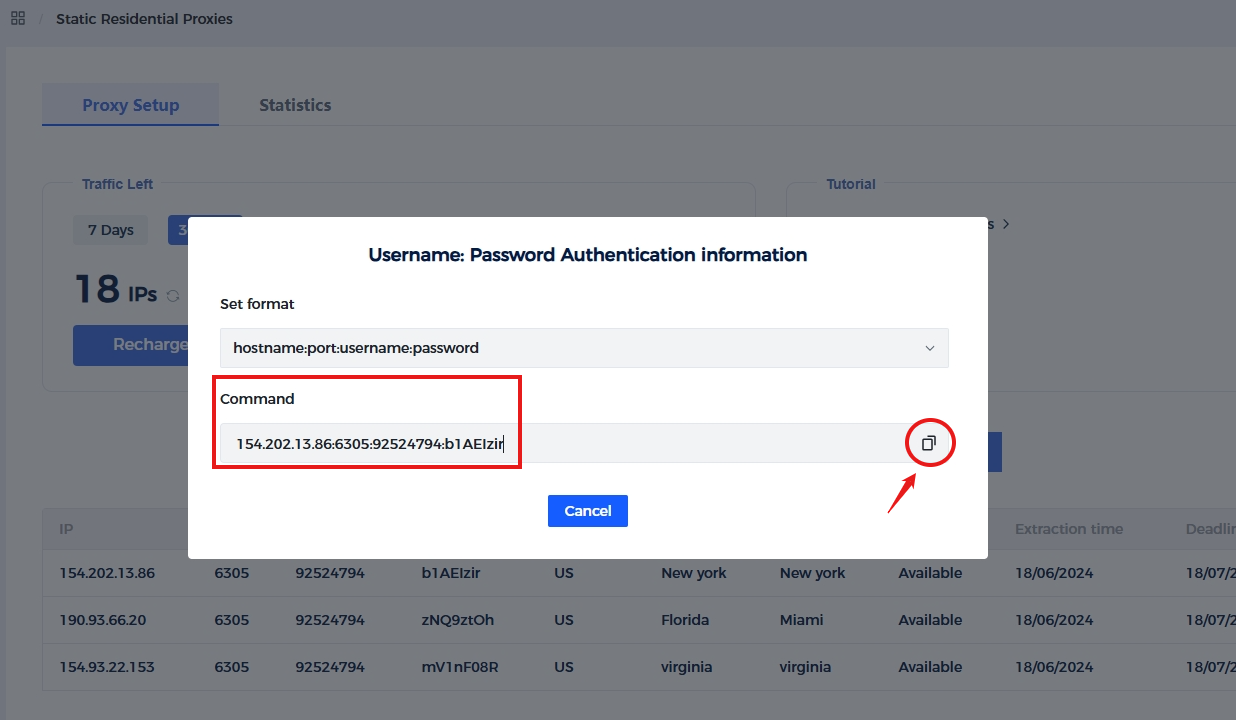
①Click to use: After selecting the format, copy the proxy’s host port, username and password with one click.


780


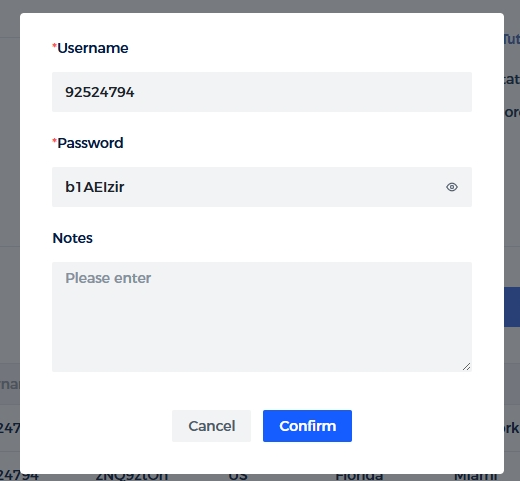
②Click Edit: You can modify your username and password, and add notes.


500


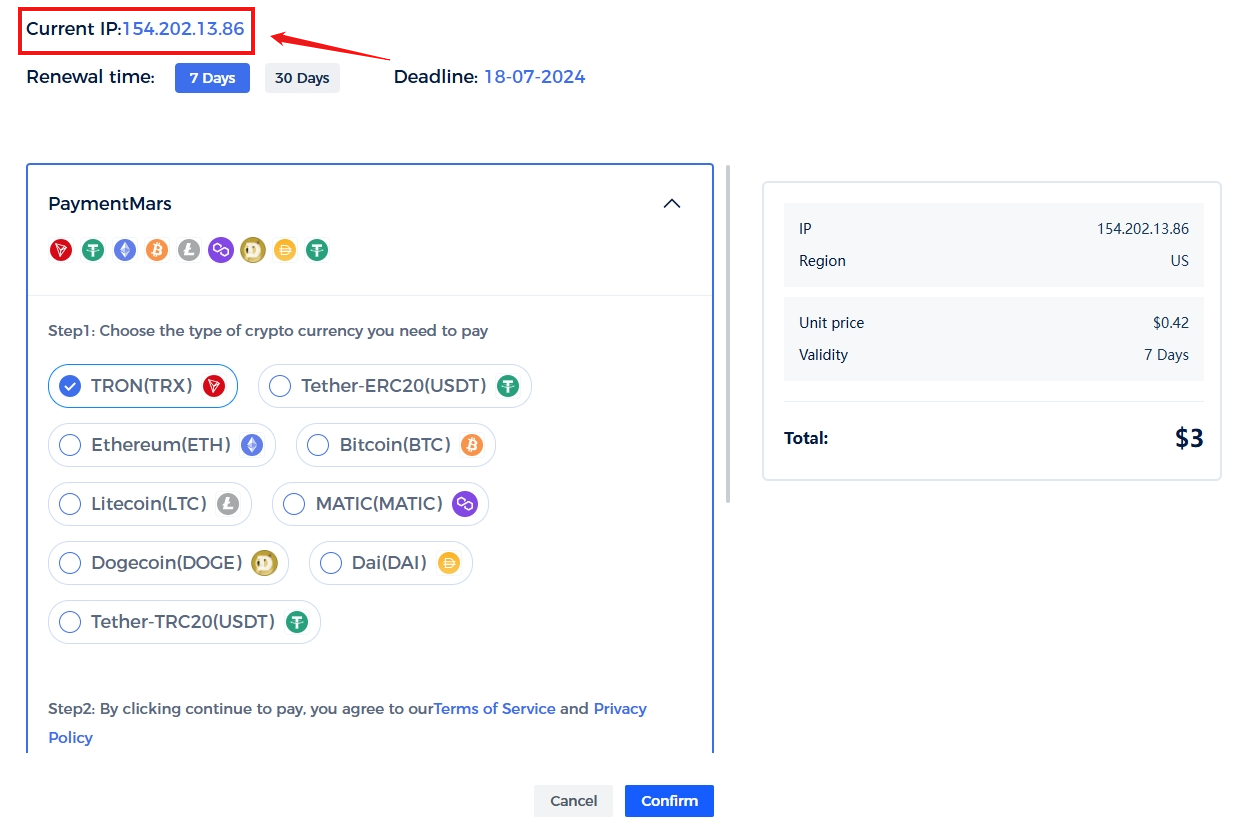
③Click Renew: You can renew the current IP.


780


The above is the entire introduction to the username and password verification methods. If you still have questions or want to seek help, please contact us via official email. We will do our best to solve your problem!


Email: [email protected]